Wednesday, January 26, 2011

Seed Pocket


Seed Pocket

This folded pocket is wonderful for holding small items; historically pockets like these were used to hold seeds, but I am going to use mine to hold a small gift.

Materials

  • Paper and Cardstock
    • Double-sided patterned paper of choice, 8 1/2" x 5 1/2" and 3" square
  • Embellishments
    • About 10 inches of 1/4" wide ribbon of choice
  • Tools
    • Crop-a-Dile (used as a hole punch through a lot of layers)
    • Floss threaders
    • Scor-pal (or Scor-buddy)

Instructions

  • With the rectangle of paper in landscape orientation, score at 4 1/4".
    It doesn't really matter which side is up.


  • Fold on the score line, strongly reinforcing the crease with a bone folder or scor-tool.


  • On the fold edge, fold the corners in to the center line, as shown.


    Reinforce the creases with a bone folder or scor-tool.
  • Open the paper.
    Decide which side of the paper you want on the outside.
    Re-crease the fold lines so that the diagonals are mountain folds and the horizontal fold is a valley fold, as shown in the photo.


    (NOTE: I changed my mind and decided to have the more bold paper be the outside AFTER I took this photo... I simply reversed the folds.
    This project is VERY forgiving.)
  • Fold on the creases, letting the center crease collapse inward.
    (Note: This is known in Origami as a balloon or waterbomb base fold.)


  • Fold the top layer of the sides of the base in to the center line, as shown in the photo.


  • Turn over and repeat.


  • Reverse the 4 folds you have just made so that the flaps fold toward the inside of the pocket.


    Set aside.
  • Score the 3" square at 1 1/2".


  • Fold on the score line, and place over the top of the seed pocket.
    Punch two holes through both the topper and the seed pocket as shown.


  • This step is not required, but it does make threading the ribbon much easier!
    Get a floss threader (meant for threading dental floss through braces and other dental work.)


    Thread the floss threader through the holes, and then thread the ribbon through the loop of the threader.


    Pull the end of the threader to get the ribbon to go through the holes.
    (NOTE: If you chose to skip the floss threader, thread the ribbon through the holes however you can.)
  • Tie a bow in the ribbon to seal the package closed.


Smiles,
Kathy

Tuesday, January 25, 2011

Birthday Party Gifts


Birthday Party Gifts

This card uses two different simple pop-up mechanisms to make birthday gift packages on the inside of a fun card. They are easier to do than they may seem... try a couple of them on scrap paper to get the hang of them, and you'll be more than ready to make this card!

Materials

  • Paper and Cardstock
    • Bazzill Singles, Purple, Classic Texture, 4 1/4"x8 1/2", 4" x 4", plus small scraps for "ribbons" on gift boxes
    • Various Patterned Papers
      • Green, 2 1/2" x 2 1/2", 4 1/4" x 2 1/4"
      • Purple, 2 1/2" x 2 1/2", 4 1/4" x 2 1/4"
      • Pink, 1 1/2" x 3 1/2"
      • Blue, 1" x 2 1/2"
    • White card-stock, about one sheet
  • Stamps
    • Inkadinkadoo Clear Stamps, Birthday Fun
    • Bow stamp
  • Inks and Embossing Powders
    • Ranger Distress Ink Pad, Dusty Concord
    • Ranger Distress Ink Pad, Shabby Shutters
    • Versamark Pad
    • Seafoam White embossing powder
  • Tools
    • EK Success 1" circle punch
    • The Scor-buddy
    • Ranger Heat-It Compact Heat Gun
    • Copic Marker, Yellowish Green
    • Ultimate Gel Pen, White Pastel
    • Yellow green colored pencil
  • Adhesives
    • Red-liner Tape, 1/4" width
    • 3D Large Circle Foam Dots
    • Glue of choice
  • Miscellaneous
    • White thread

Instructions

  • Score the 8 1/2" piece of purple card stock at 4 1/4" and fold on the score line, forming a 4 1/4" square card.
  • Affix the 4" square of purple card stock to the card front to reinforce it.
  • Attach the green square of patterned paper to the front of the card diagonally.
  • Use the Versamark ink to stamp the word "Party" at the lower left of the card front, crossing onto the green patterned paper.
    Emboss with white powder and the heat gun.
    Set the card aside.
  • Stamp two balloons with Shabby Shutters ink and one with Dusty Concord ink onto scrap white card-stock.
    Cut each balloon out.
  • Stamp a gift with the Dusty Concord ink onto white card-stock scrap.
    Color the circles in the pattern on the gift with the green colored pencil.
  • Stamp the bow with the Dusty Concord ink onto a white card-stock scrap.
    Cut the bow out carefully.
  • Stamp the circular Happy B-day in the Dusty Concord ink.
    Punch it out with the 1" circle punch.
    Attach a 3D foam dot on the backs of the gift, the concord balloon, and the Happy B-day circle.
    Set the balloons, the gift, the bow, and the saying aside.
  • Stamp the confetti on the upper right corner of the right side of the inside of the card using the Versamark ink.
    Use the heat gun to emboss with white powder.
    When cool, color random items in the confetti green using the Copic marker.
    Set the card aside
  • Cut white card stock scraps to the same size as the patterned paper rectangles.
    Score them as shown in the diagram below (1/4" from each end and on the center line for all but the longest piece, which gets scored at every inch, leaving a 1/4" flap on one end.)


  • Adhere the patterned paper to the white card-stock of the same size.
    Mountain fold on the score lines with the patterned card-stock facing up.
    Reopen the pieces flat.
  • Apply red-liner tape to each of the 1/4" tabs of each of the rectangles on the patterned paper side.
    Starting with the 4" long rectangle, peel off the liner on the right side of the rectangle.
    Attach the piece, patterned side down 1 1/2" from the fold, flush with the bottom edge of the card.
    Fold the piece backward on its center line score.
    Remove the red-liner from the now-exposed piece of tape. br Carefully close the card.
  • Repeat with the process with the 3 1/2" long rectangle, but attaching the first piece of tape at 1 1/4" from the fold and flush with the top of the other attached piece.
  • Repeat with the 2 1/2" long rectangle, but attaching it at 3/4" from the fold and flush with the top of the second attached piece.
  • Remove the liner from the tape on the last rectangle. Fold on each of the score lines and then attach the edge of the rectangle to the 1/4" tab to form a squared tube.
  • Add red liner tape to the side of the squared tube where the seam is, and to one of the two edges adjacent to it.
    Remove the liner from both pieces of tape and attach the squared tube to the left edge of the bottom "gift" and the left side of the card, flush with the bottom of the card.
  • Add small strips of purple card stock to the "gifts" to simulate ribbons.
    Add the bow to the top edge of the bottom gift so that the bow won't extend beyond the edges of the closed card.
    The inside of the card is now completed.
    It will close flat, and yet the gifts will pop open when the card is opened.
  • Finish the front of the card by attaching the two green balloons toward the upper right corner.
    With the foam dot, attach the purple balloon in front of the two green balloons.
    Tie a piece of white thread to the purple balloon and extend it toward the bottom of the card.
  • Attach the Happy B-day saying at the bottom right of the card, catching the thread under the foam dot.
    Use the white gel pen to draw "strings" from the two green balloons toward the bottom of the card.
  • Attach the gift in the center of the green diamond. The card is now completed!
  • miles, Kathy

Monday, January 24, 2011

Double CD Fold-out Album


Double Fold-out CD Folder Album

A few weeks back I saw a double fold-out CD folder album project kit and instructions by Patty Bennet . I fell in love with the project, and thought it would be the perfect way to deliver my Christmas gifts to my mom and dad (who live 3000 miles from me). I ordered the on-line instructions, and set to work to make the album. It was a great success, in spite of the fact that I sometimes struggled with the instructions.

The struggles I had led me to look at the project differently, and to rework the project from the bottom up. What follows are my version of the fold-out album, with my own measurements, patterns, and instructions. I hope you will enjoy them, and find them easy to follow.

*Warning - this is not a quick project, but it isn't really difficult, either; it is just a bit time consuming. The recipient of this album will be sure to appreciate your time and effort, though, since it is a stunning beauty!

Materials

  • Paper and Cardstock
    • Bazzill 12"x12" Cardstock, Heather, 3 sheets
    • Little Yellow Bicycle, Clothesline 12"x12" Cardstock, Cornflower/Cornflower Ledger, 2 sheets
    • Creative Imaginations,Mon Ami collection, Bell Raie, 3 sheets
    • #5 Manila Shipping Tags, 4-3/4" x 2-3/8",24/package, 8 tags
    • CD Media folders, 4 folders
  • Stamps
    • Penny Black clear stamps, Allegro
    • Prima clear stamps, Vintage Script
    • Stampendous Clear Stamps, Hot Rocketz
  • Inks and Embossing Powders
    • Distress Ink Pad, Dusty Concord
  • Embellishments
    • K&Co Cottage Garden dimensional stickers
    • Medium Eyelets, Vanilla, 8 eyelets
    • Organza Ribbon, 1/4", white, about 2 yards
  • Tools
    • Spellbinders Nestabilities Die Labels #1
    • Provo Craft Cuttlebug Machine
    • The Scor-Pal
    • Fiskars 12" Deluxe Portable Paper Trimmer
    • Crop-A-Dile
    • 3" round Hydra Sponge
  • Adhesives
    • Wonder Tape, 1/4"
    • Foam dots or tape
    • Glue stick
  • Other
    • 8 Birthday sayings, typed and printed. (The ones I used are available here .)

Instructions

  • Cut and score two of the pieces of 12"x12" Bazzill cardstock as follows (number them on their wrong side as follows:
    • 5 1/4" x 12", scored in landscape orientation at 5 1/4", 6", and 11 1/4" (back and inside cover)
    • 5 1/4" x 12", scored in landscape orientation at 3/8", 3/4", 6", 11 1/4", and 11 5/8" (insert)
    • 5 1/4" x 11 1/4", scored in landscape orientation at 3/4" and 6" (front cover)
    • Two pieces, each 5 1/4" square (insides of back and inside covers)
    • 5 1/4" x 3/4" (this is the size of the scrap left after cutting the third piece, and will be used to cover the inside of the left spine)
    •      
  • With the wrong side up, valley fold the first and third pieces.
    The third piece will form the front cover; the first will form the rear and inside covers.


  • With glue stick or other adhesive, glue the right-most panel of the third piece to the middle panel of the same piece, reinforcing the panel.


  • Place strong tape along the inside of the 3/4" panel of the third piece.
    Affix the 3/4" panel to the outside of the left-most 3/4" panel of the first piece, forming the cover.


  • With the right side up on the second piece, Valley fold the first, second, fourth and fifth scores (the ones on the edges).
    Mountain fold the score in the center.


  • Turning the second piece over so the wrong side is up, place glue on the middle two panels, and adhere them to each other.
    This will be the central insert, dividing the two fold out CD panels.
  • Apply strong adhesive tape to the wrong sides of each of the four 3/8" wide panels at the end of the central insert.
    Carefully insert into the 3/4" panel of the cover (not the one that was formed by putting the two cover pieces together, but the one that was formed by scoring the first piece).
    Be careful that the folds in the insert align with the folds in the cover.


  • Glue the two 5 1/4" square panels to the right-most and center panels of the cover, right side up, reinforcing each panel.
    Glue the 3/4" x 5 1/4" panel over the left 3/4" panel so that both the inside and outside of the cover has the right-side of the cardstock showing.


  • The cover is completed; set aside.


  • Fold each of the 4 CD folders so that the CD holders are to the inside, and inside pockets are all facing up.
  • Glue two of the folders together so that they form a "Z".


    Repeat with the other two folders but so that they form a reversed "Z".
  • Using the strong tape, glue the accordion CD units to the right-most and center panels of the cover, with the insert panel between them.


  • Cut the patterned papers into 5"x5" pieces, reserving scraps for the tags, if desired. You will need 10 of the squares.
  • Cover each of the exposed CD panels with the patterned paper, mixing the papers as desired.
    • To cover the panels with the circular punchout, first insert the paper into the holder (right side up), and mark the punchout with a pencil or disappearing ink pen.
      Remove the paper from the holder, and use the 3/4" circle punch to punch the marked partial circle.


      Glue the panel into place.
    • To cover the panels with the cut slot, first insert the paper into the holder (right side up), mark the edge of the slot with a pencil or disappearing ink pen.


      Remove the paper from the holder, and carefully cut along the drawn line.
      Glue each of the two pieces into place.
  • Attach a 24" piece of ribbon to the outside of the front cover, so that the ribbon will extend around the book and be able to be tied in a bow to the right side of the front of the cover.
  • Using a piece of the 3rd piece of Bazzill, die cut the largest of the labels 1 dies.
    Sponge around the piece with the dusty concord ink.
    Attach it to the front cover, over the ribbon, using foam dots or foam tape.
  • Decorate the label panel with the dimensional stickers as desired.
  • Cut a small tag out of the Bazzil Scraps.
    Stamp the "Happy Birthday" from the on it with the concord ink.
    Punch a small hole using the Crop-a-Dile.
    Attach a small piece of ribbon through the hole.
    Attach the tag to the dimensional stickers decoration on the front panel.


  • The album is completed. Set aside.
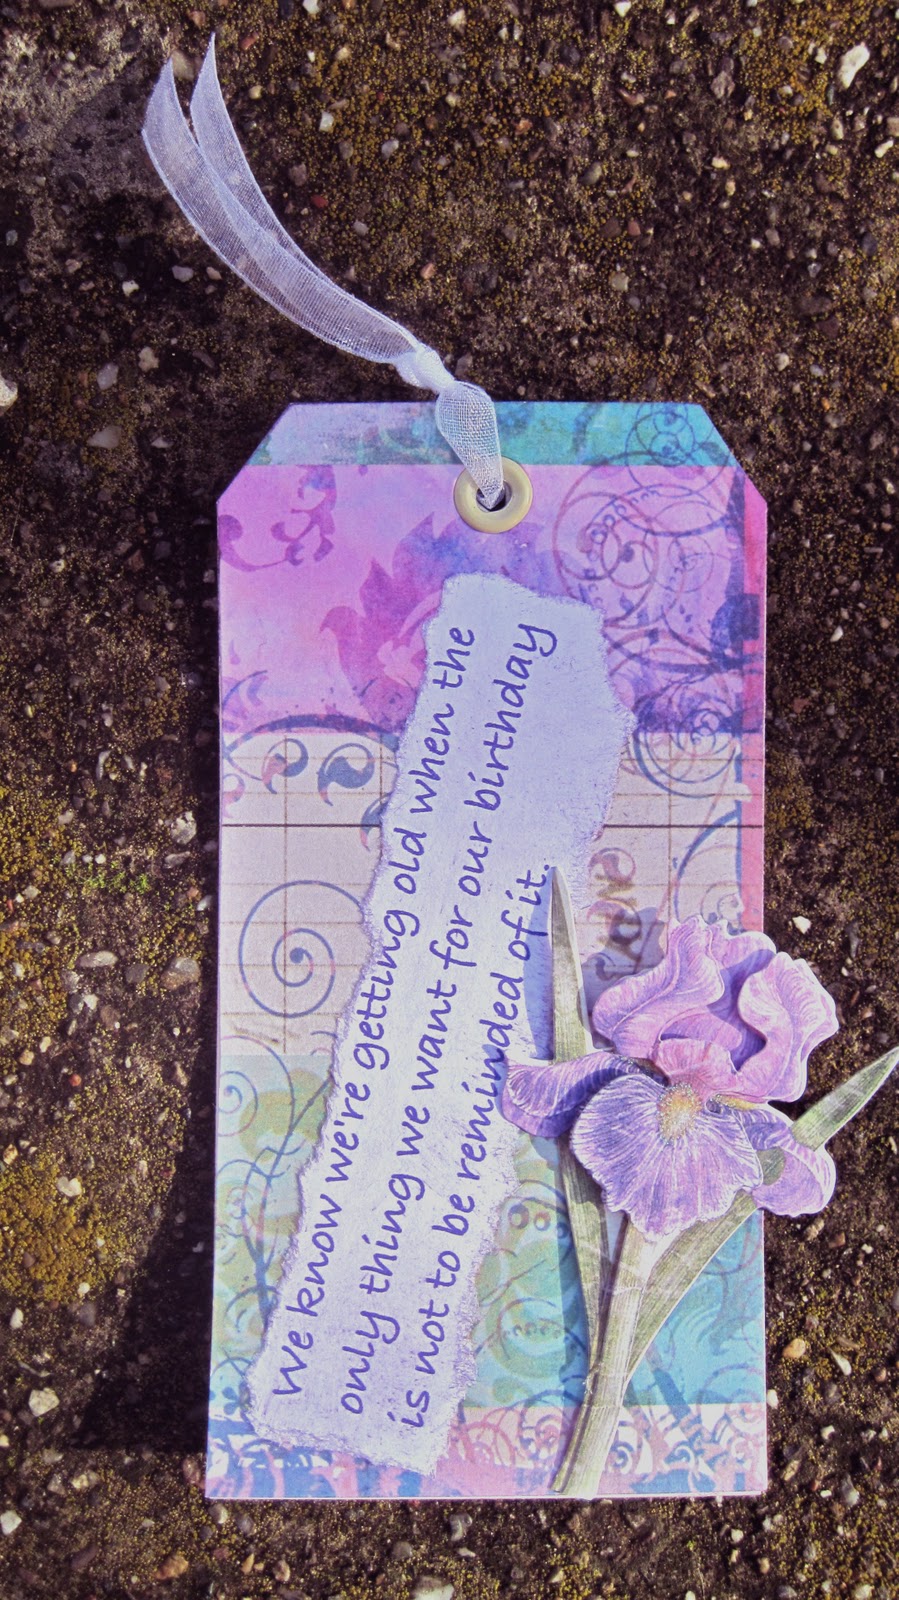
  • Cover the front of eight tags with the patterned paper or Bazzill paper as desired.
  • For each tag, where the hole in the tag is, punch a hole through the cover paper with the Crop-a-Dile.
    Attach an eyelet through the hole.
    Tie a length of ribbon through the eyelet.
  • Randomly stamp the tags with the iris stamp or with the script stamp as desired.
  • Tear around the birthday sayings.
    Glue a saying to the front of each tag.
    Lightly sponge ink around the edges of the sayings.
  • Embellish the tag with dimensional stickers as desired.


  • Place a tag in each of the eight pockets in the CD Album.
    Tie the album closed.

Here are some more photos of the various pages of the album, with their tags inside.


I hope you have enjoyed this project and will give it a try. It is really worth the effort!

Smiles,
Kathy