

Double Fold-out CD Folder Album
A few weeks back I saw a double fold-out CD folder album project kit and instructions by Patty Bennet . I fell in love with the project, and thought it would be the perfect way to deliver my Christmas gifts to my mom and dad (who live 3000 miles from me). I ordered the on-line instructions, and set to work to make the album. It was a great success, in spite of the fact that I sometimes struggled with the instructions.The struggles I had led me to look at the project differently, and to rework the project from the bottom up. What follows are my version of the fold-out album, with my own measurements, patterns, and instructions. I hope you will enjoy them, and find them easy to follow.
*Warning - this is not a quick project, but it isn't really difficult, either; it is just a bit time consuming. The recipient of this album will be sure to appreciate your time and effort, though, since it is a stunning beauty!
Materials
- Paper and Cardstock
- Bazzill 12"x12" Cardstock, Heather, 3 sheets
- Little Yellow Bicycle, Clothesline 12"x12" Cardstock, Cornflower/Cornflower Ledger, 2 sheets
- Creative Imaginations,Mon Ami collection, Bell Raie, 3 sheets
- #5 Manila Shipping Tags, 4-3/4" x 2-3/8",24/package, 8 tags
- CD Media folders, 4 folders
- Stamps
- Penny Black clear stamps, Allegro
- Prima clear stamps, Vintage Script
- Stampendous Clear Stamps, Hot Rocketz
- Inks and Embossing Powders
- Distress Ink Pad, Dusty Concord
- Embellishments
- K&Co Cottage Garden dimensional stickers
- Medium Eyelets, Vanilla, 8 eyelets
- Organza Ribbon, 1/4", white, about 2 yards
- Tools
- Spellbinders Nestabilities Die Labels #1
- Provo Craft Cuttlebug Machine
- The Scor-Pal
- Fiskars 12" Deluxe Portable Paper Trimmer
- Crop-A-Dile
- 3" round Hydra Sponge
- Adhesives
- Wonder Tape, 1/4"
- Foam dots or tape
- Glue stick
- Other
- 8 Birthday sayings, typed and printed. (The ones I used are available here .)
Instructions
- Cut and score two of the pieces of 12"x12" Bazzill cardstock as follows (number them on their wrong side as follows:
- 5 1/4" x 12", scored in landscape orientation at 5 1/4", 6", and 11 1/4" (back and inside cover)
- 5 1/4" x 12", scored in landscape orientation at 3/8", 3/4", 6", 11 1/4", and 11 5/8" (insert)
- 5 1/4" x 11 1/4", scored in landscape orientation at 3/4" and 6" (front cover)
- Two pieces, each 5 1/4" square (insides of back and inside covers)
- 5 1/4" x 3/4" (this is the size of the scrap left after cutting the third piece, and will be used to cover the inside of the left spine)
- With the wrong side up, valley fold the first and third pieces.
The third piece will form the front cover; the first will form the rear and inside covers.

- With glue stick or other adhesive, glue the right-most panel of the third piece to the middle panel of the same piece, reinforcing the panel.

- Place strong tape along the inside of the 3/4" panel of the third piece.
Affix the 3/4" panel to the outside of the left-most 3/4" panel of the first piece, forming the cover.

- With the right side up on the second piece, Valley fold the first, second, fourth and fifth scores (the ones on the edges).
Mountain fold the score in the center.

- Turning the second piece over so the wrong side is up, place glue on the middle two panels, and adhere them to each other.
This will be the central insert, dividing the two fold out CD panels. - Apply strong adhesive tape to the wrong sides of each of the four 3/8" wide panels at the end of the central insert.
Carefully insert into the 3/4" panel of the cover (not the one that was formed by putting the two cover pieces together, but the one that was formed by scoring the first piece).
Be careful that the folds in the insert align with the folds in the cover.

- Glue the two 5 1/4" square panels to the right-most and center panels of the cover, right side up, reinforcing each panel.
Glue the 3/4" x 5 1/4" panel over the left 3/4" panel so that both the inside and outside of the cover has the right-side of the cardstock showing.

- The cover is completed; set aside.

- Fold each of the 4 CD folders so that the CD holders are to the inside, and inside pockets are all facing up.
- Glue two of the folders together so that they form a "Z".

Repeat with the other two folders but so that they form a reversed "Z". - Using the strong tape, glue the accordion CD units to the right-most and center panels of the cover, with the insert panel between them.

- Cut the patterned papers into 5"x5" pieces, reserving scraps for the tags, if desired. You will need 10 of the squares.
- Cover each of the exposed CD panels with the patterned paper, mixing the papers as desired.
- To cover the panels with the circular punchout, first insert the paper into the holder (right side up), and mark the punchout with a pencil or disappearing ink pen.
Remove the paper from the holder, and use the 3/4" circle punch to punch the marked partial circle.

Glue the panel into place. - To cover the panels with the cut slot, first insert the paper into the holder (right side up), mark the edge of the slot with a pencil or disappearing ink pen.

Remove the paper from the holder, and carefully cut along the drawn line.
Glue each of the two pieces into place. - Attach a 24" piece of ribbon to the outside of the front cover, so that the ribbon will extend around the book and be able to be tied in a bow to the right side of the front of the cover.
- Using a piece of the 3rd piece of Bazzill, die cut the largest of the labels 1 dies.
Sponge around the piece with the dusty concord ink.
Attach it to the front cover, over the ribbon, using foam dots or foam tape. - Decorate the label panel with the dimensional stickers as desired.
- Cut a small tag out of the Bazzil Scraps.
Stamp the "Happy Birthday" from the on it with the concord ink.
Punch a small hole using the Crop-a-Dile.
Attach a small piece of ribbon through the hole.
Attach the tag to the dimensional stickers decoration on the front panel.

- The album is completed. Set aside.
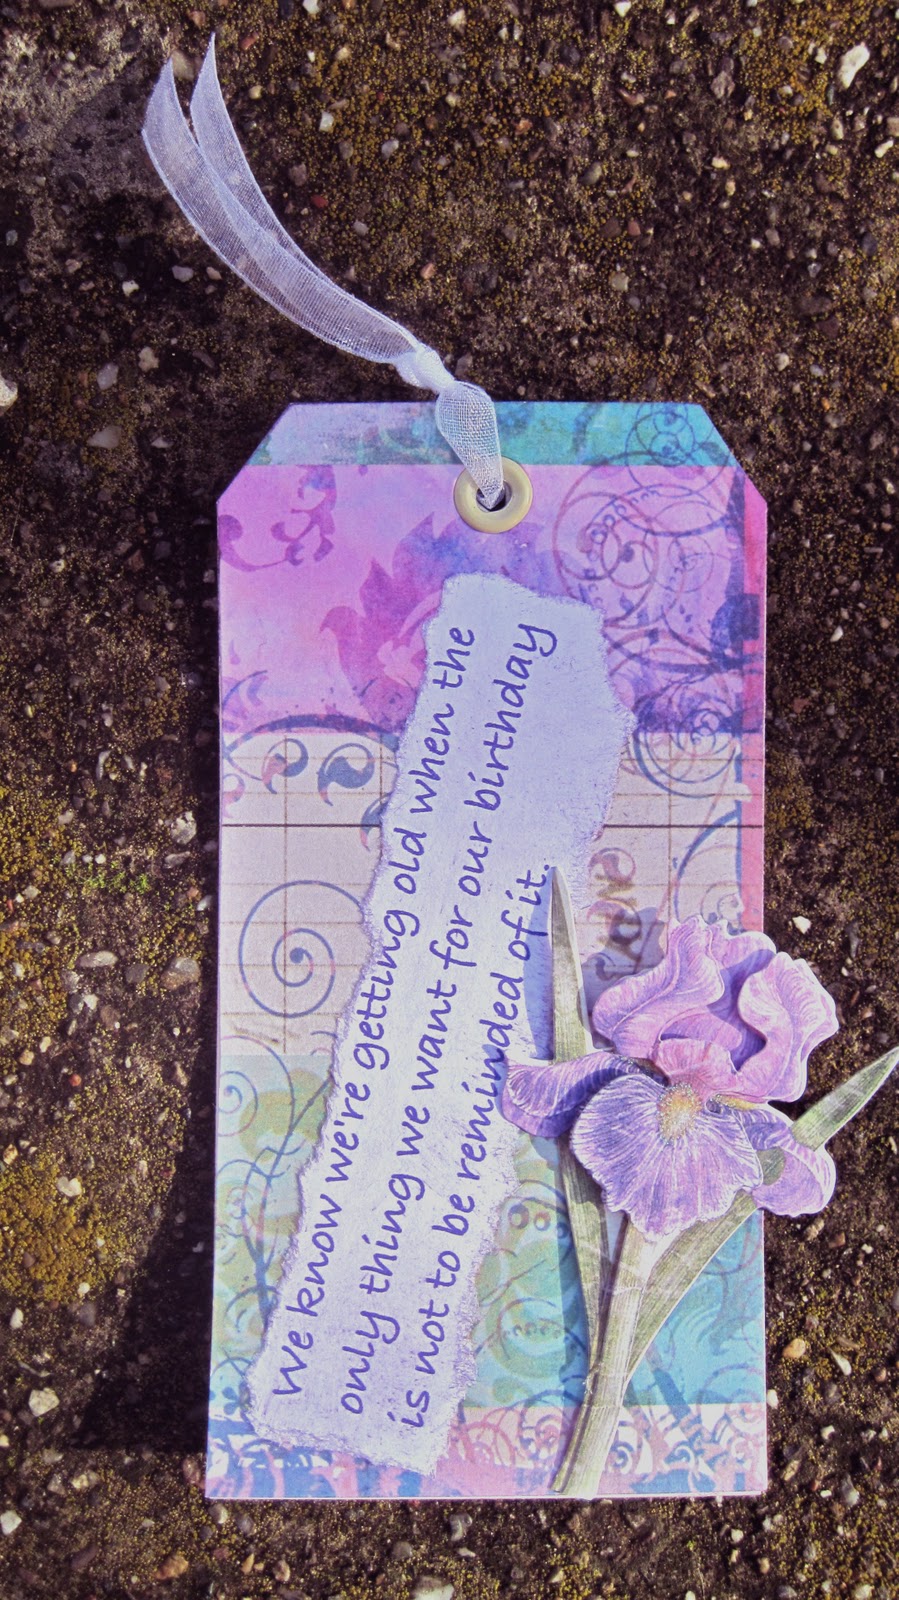
- Cover the front of eight tags with the patterned paper or Bazzill paper as desired.
- For each tag, where the hole in the tag is, punch a hole through the cover paper with the Crop-a-Dile.
Attach an eyelet through the hole.
Tie a length of ribbon through the eyelet. - Randomly stamp the tags with the iris stamp or with the script stamp as desired.
- Tear around the birthday sayings.
Glue a saying to the front of each tag.
Lightly sponge ink around the edges of the sayings. - Embellish the tag with dimensional stickers as desired.


- Place a tag in each of the eight pockets in the CD Album.
Tie the album closed.


Here are some more photos of the various pages of the album, with their tags inside.


I hope you have enjoyed this project and will give it a try. It is really worth the effort!
Smiles,
Kathy


